 English
  русский
 عربى
عربى Español
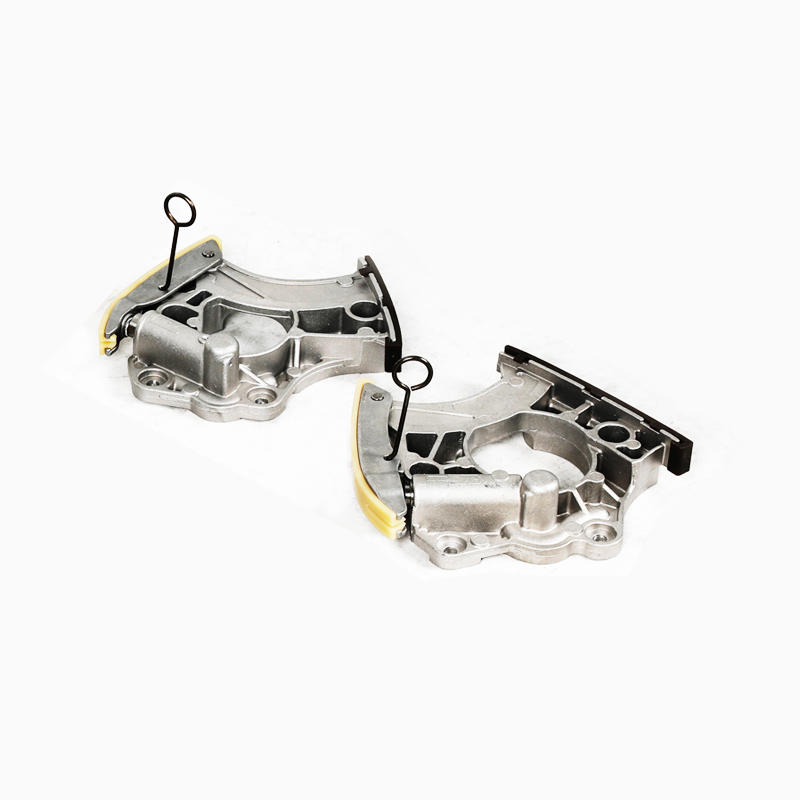
The timing chain tensioner is a critical component in your car's engine, ensuring the timing chain remains properly aligned and tensioned. A failing tensioner can lead to severe engine damage, making it essential to recognize warning signs and know how to replace it. Below, we explore timing chain tensioner failure signs, the necessary timing chain tensioner tool kit, and a step-by-step timing chain tensioner replacement guide.
Timing Chain Tensioner Failure Signs: Don't Ignore These Symptoms
A failing timing chain tensioner can cause catastrophic engine failure if ignored. Here are the most common timing chain tensioner failure signs:
Rattling Noise at Startup – A loose timing chain due to a worn tensioner often produces a rattling sound, especially when the engine is cold.
Check Engine Light – A faulty tensioner can trigger error codes related to timing misalignment.
Engine Misfires or Poor Performance – If the chain slips, the engine's timing is disrupted, leading to misfires and power loss.
Metal Shavings in Oil – A severely worn tensioner or chain can shed metal particles into the oil.
Engine Won't Start – In extreme cases, a broken tensioner can cause the chain to jump teeth, preventing the engine from starting.
If you notice these symptoms, inspect the tensioner immediately to avoid costly engine repairs.
Timing Chain Tensioner Tool Kit: Must-Have Tools for the Job
Replacing a timing chain tensioner requires specialized tools to ensure precision and safety. Here's what you'll need in your timing chain tensioner tool kit:
Torque Wrench – Ensures proper bolt tightening to manufacturer specs.
Socket Set – For removing engine covers and tensioner bolts.
Timing Chain Locking Tool – Prevents the chain from slipping during replacement.
Camshaft Locking Tool – Keeps camshafts aligned to avoid timing errors.
Gasket Scraper & Sealant – For resealing engine covers after replacement.
Engine Support Bar – Helps stabilize the engine if major disassembly is needed.
Using the right tools minimizes the risk of improper installation, which can lead to engine damage.
Timing Chain Tensioner Replacement Guide: Step-by-Step Process
If your tensioner is failing, follow this timing chain tensioner replacement guide for a smooth repair:
Step 1: Prepare the Vehicle
Disconnect the battery to prevent electrical issues.
Drain engine oil if the tensioner is located near the oil pan.
Step 2: Remove Engine Covers & Accessories
Take off the timing cover, serpentine belts, and any obstructing components.
Step 3: Lock the Timing Chain
Use a timing chain locking tool to secure the chain in place, preventing movement.
Step 4: Remove the Old Tensioner
Unbolt the old tensioner carefully, noting its position. Some models require releasing hydraulic pressure first.
Step 5: Install the New Tensioner
Apply fresh oil to the new tensioner (if hydraulic).
Bolt it into place and torque it to manufacturer specifications.
Step 6: Reassemble & Test
Reinstall engine covers, refill oil, and start the engine. Listen for unusual noises to confirm proper installation.
 View More >>
 View More >>
 View More >>
 View More >>
 View More >>
 View More >>
 View More >>
 View More >>
 View More >>
 View More >>
 View More >>
 View More >>


